
Have you ever had ‘QuickBooks not connecting to server’ and need help with it? Well, then, you are on the correct page. Let’s learn why this even generally occurs. QuickBooks users can access multi-user mode to enable numerous users to open one company file. It requires configuring a computer as a host or using a dedicated server to be able to use this multi-user feature. The majority of QuickBooks Database Server Manager is the component that makes it possible to host data and establishes a connection between workstations so that company files can be accessed.
Solutions to Fix ‘QuickBooks Not Connecting to Server Issue’
Now, you need to look at the solutions to fix the ‘QuickBooks could not connect to the email server’ issue. We will be discussing several methods to resolve the error. Here are the steps that we are going to implement:
- Resetting the Web Browser Settings to Normal
- Creating the Network Data (ND) Files
- Configuring and Restarting the QuickBooks Database Server Manager
- Verifying the QuickBooks Desktop File Hosting Service
- Updating QuickBooks to the Current Version
- Adjusting the Antivirus or Firewall Settings
- Checking the Settings of the Web Mail Preferences
Solution 1: Resetting the Web Browser Settings to Normal
If you reset the settings of the default web browser, server issues are resolved. You can access the server by setting the Internet as the default. The steps to restore the web browser settings to default are mentioned below:
- Open the web browser and press Alt + T while in the Tools menu.
- Then, click on Internet Options.
- Click on Restore Advanced Settings under the Advanced tab.
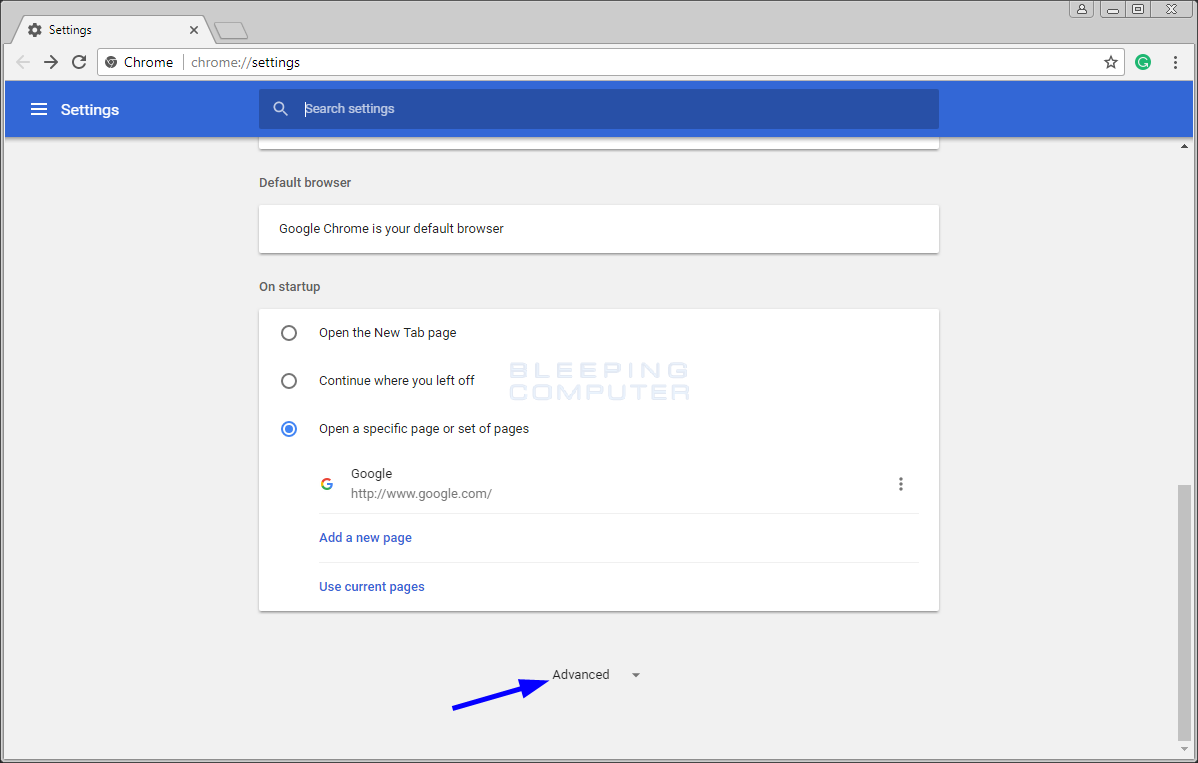
- Press the OK tab and close the browser, and see whether the error has disappeared or not.
If the error has not disappeared and is still there, you can move to the next solution.
Solution 2: Creating the Network Data (ND) Files
To resolve the ‘QuickBooks not connecting to the server’ issue, you might need to create the network data files. The steps for creating the network data files on the network are mentioned below:
- Press the Windows key and then click on QuickBooks Database Server Manager.
- Select the database server manager.
- You may need to uninstall and reinstall QuickBooks if you can’t find the QB Database Server Manager in the list of programs.
- Now, verify the installation process.
- Go to the QuickBooks database server manager window and move the mouse pointer over the folder location where company files are saved. Then, click on the Add folder.
- After all the folders have been added successfully, click Scan Now.
- Then, scan all QB company files.
- Make sure that the ND files are created for every data file at the end of the process.
Now, you have created the network data (ND) files to resolve the server connection error in QuickBooks. If this solution does not help, try the next method.
Solution 3: Configuring and Restarting the QuickBooks Database Server Manager
You should set up the QuickBooks Database Server Manager if QuickBooks POS is not connecting to the server to prevent server problems. The steps to configure and restart the QBDSM are as follows:
- Open the Windows Start menu.
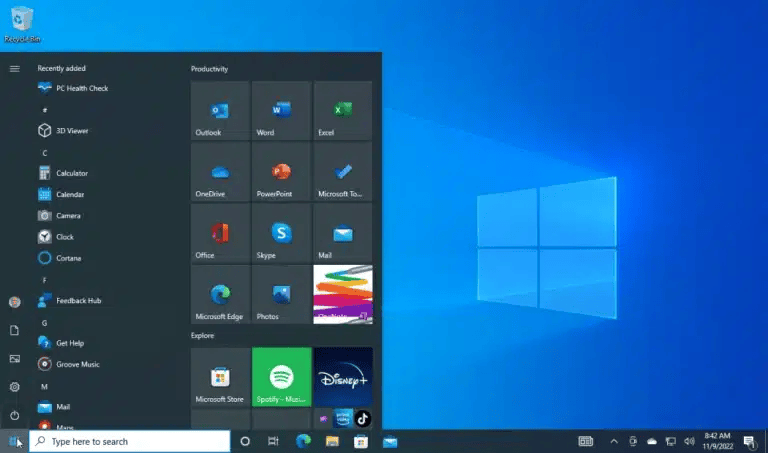
- Type Services into the search bar and open it.
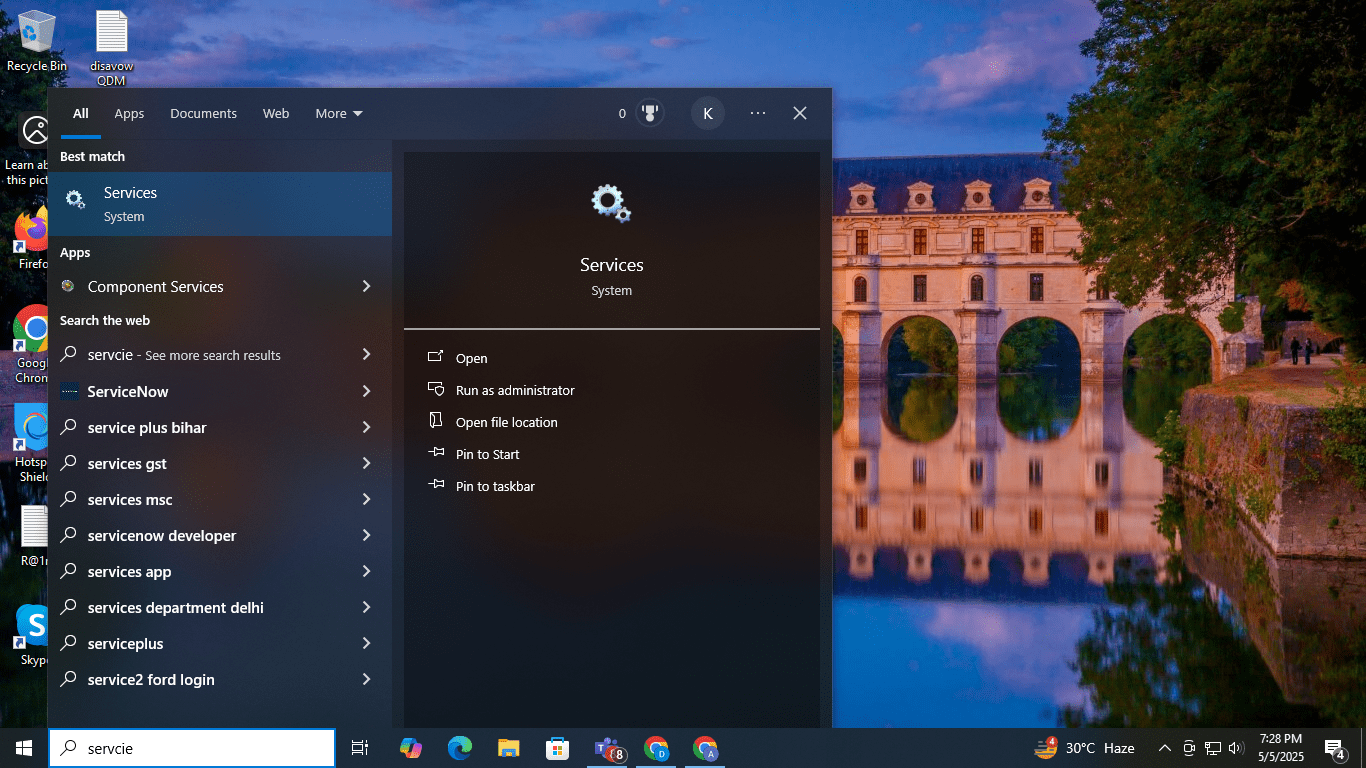
- Open QuickBooksDBXX (XX is the version number).
- Navigate to General and locate the Service Status. Then, you need to hit the Stop option if it’s started or running.
- Choose Automatic under the startup type drop-down.
- Then, you must select the Local System Account option under the Logon tab.
- You can visit the Recovery option and choose Restart the service from the drop-down menu for the failures there.
- Go back to General and then click Start to restart Database Server Manager.
These are the steps to configure and restart the QuickBooks Database Server Manager. If this solution does not resolve your issue, you can move to the next solution.
Solution 4: Verifying the QuickBooks Desktop File Hosting Service
The QuickBooks desktop file hosting services are verified because they may conflict with the workstations and server. The respective steps to verify the QuickBooks Desktop File Service Hosting service are as follows:
Step 1: The Hosting of all the workstations is turned off
The users need to ensure that they have turned off the hosting of all workstations. This might help you resolve the ‘QuickBooks Not Connecting to Server’ issue. The steps to turn off the hosting for all workstations are mentioned below:
- Go to the File menu
- Click Utilities from the QuickBooks file menu.
- Then, choose the option to stop hosting multi-user access afterwards.
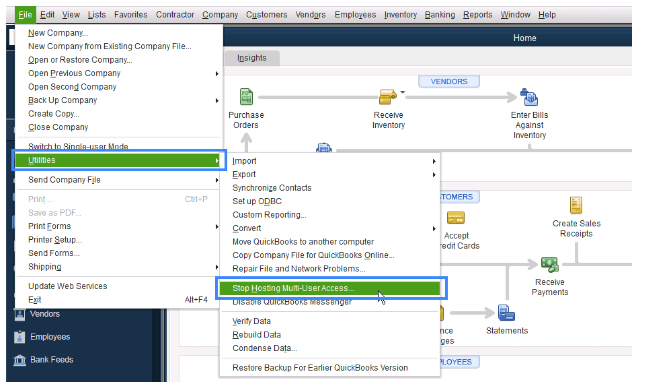
- Press Yes
If you see Host Multi-User Access rather than Stop Hosting Multi-User Access, click Yes to proceed.
Step 2: Enabling the Server Computer’s Hosting
Now, you need to enable the server computer’s hosting to fix this issue. Here are the steps that you need to follow:
- First, press the Windows key, type Windows Task Manager, and then press the Enter key.
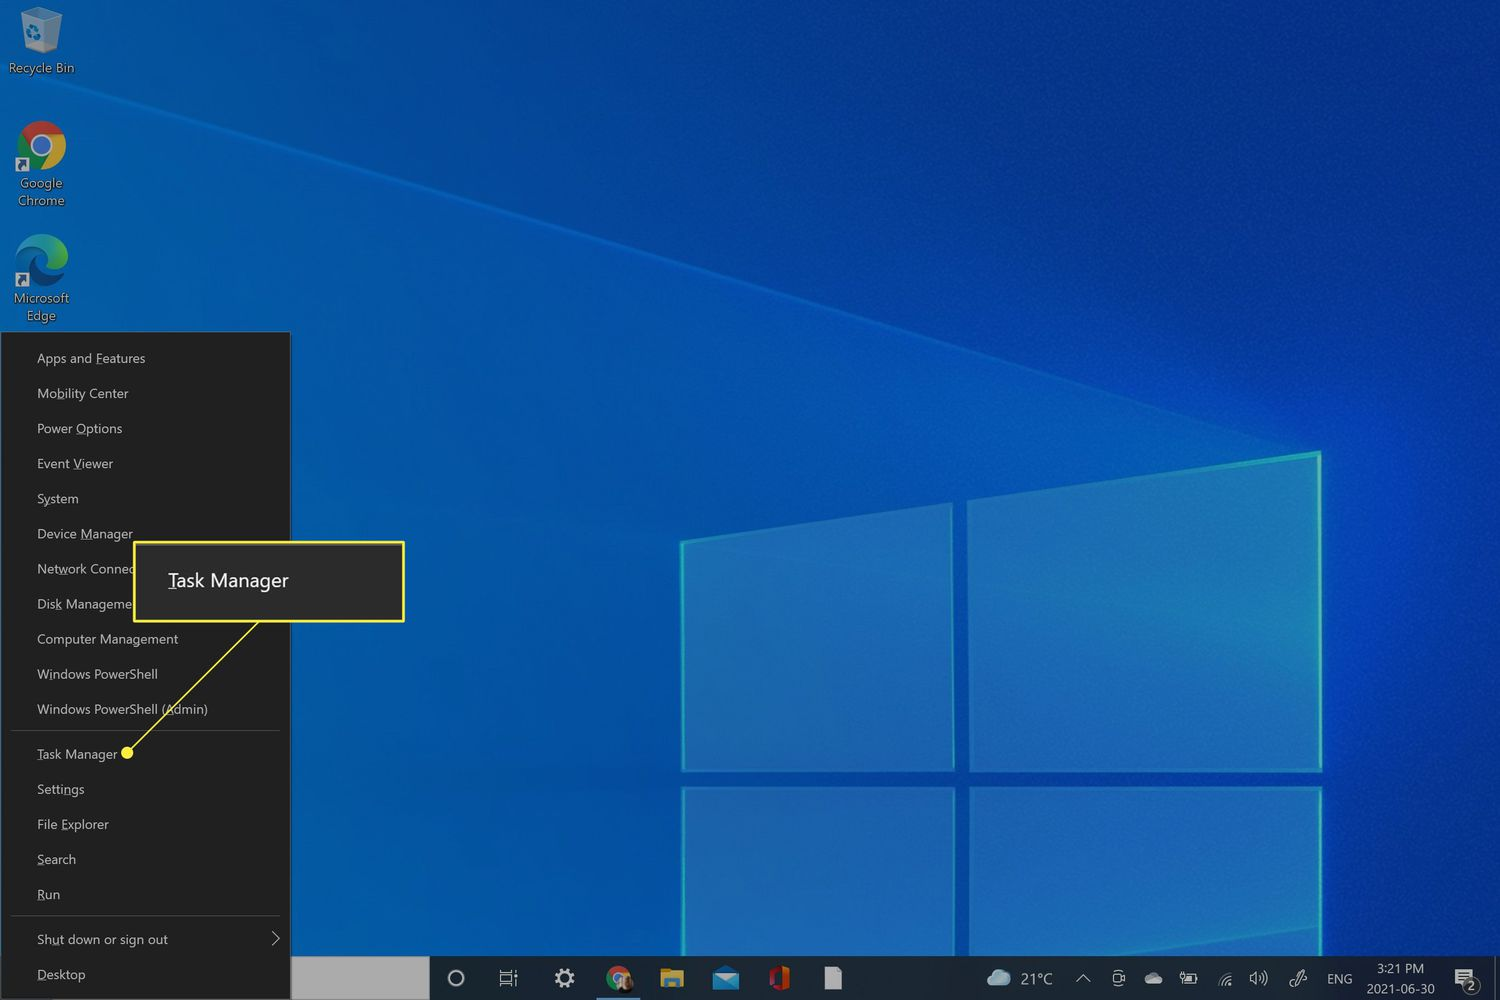
- Then click on the More Details button of the task manager window.
- Then click on the services tab, and then click on QBBDBMgrN.exe from the list.
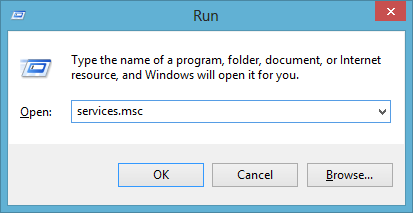
- Now, press Windows + R to view the file’s integrity.
- The next step is to open the run box, enter services.msc, and click the OK button.
- Click the Q button to find QBDBMgrN.exe.
Lastly, you need to start the service and select the Automatic Start option. If the error is still there, move to the next solution for resolution.
Solution 5: Updating QuickBooks to the Current Version
An outdated version of QuickBooks can also cause the server connection problem. You must update the application to resolve this server connectivity issue. The steps to update the application are mentioned below:
- It is suggested that you update QuickBooks by clicking on the “Upgrade QuickBooks Desktop” from the Help menu.
- Next, select’ Mark all’ by clicking the Options tab.
- The next step is to select “Update Now” and wait for the update.
- Finally, close QuickBooks and reboot your computer.
Following the above steps, you have successfully updated the QuickBooks Desktop. This could be a way of eliminating the error. If there is no solution to the error yet, you can move to the next section.
Solution 6: Adjusting the Antivirus or Firewall Settings
Sometimes, making minor changes in your antivirus or firewall settings can help QuickBooks work smoothly and connect to the server. The steps to adjust some settings are as follows:
- Open Firewall Settings.
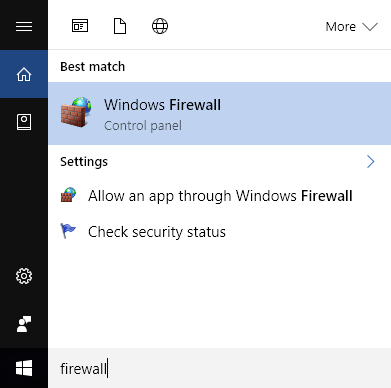
- Find Firewall or Security Settings.
- Then, temporarily disable the Firewall.

- Verify QuickBooks Connection.
- Configure Firewall Rules.
- Add QuickBooks to the Allowed Apps List.
- Lastly, re-enable the Firewall.
If changing your firewall didn’t work to fix the problem, verify your antivirus settings. Ensure QuickBooks has overall permissions so it won’t be blocked. You can also move to the next solution if this does not help.
Solution 7: Checking the Settings of the Web Mail Preferences
You may need to check the settings of the webmail preferences to fix the QuickBooks could not connect to the email server issue. The steps to verify the webmail preferences settings are as follows:
- Proceed to the QuickBooks edit menu and select Preferences.
- On the subsequent page, select Send Forms.
- Then, kindly select the Email Account Being Used and click Edit under My Preferences.
- Then, proceed to the SMTP server details section, and enter the port and server name as the email provider settings in the edit email info screen.
- Set up QuickBooks email service for a list of SMTP servers and ports.
Following this step will help you check the settings of the webmail preferences. If these steps do not help you fix the error, you can look for professional help.
Understanding the QuickBooks Not Connecting to Server Issue

If you get to know that QuickBooks is not connecting to the server, you may receive an error warning message indicating that the server is busy. It can be due to the way the hosting mode is set, bad connectivity, issues with the firewall, interference from a third-party application, and more. This is an issue with the multi-user mode. Let’s now have a look at the symptoms of the QuickBooks not connecting to the server error.
Symptoms of QuickBooks POS Not Connecting to Server Issue
Every error has its specific signs and symptoms for recognition and identification. The common signs of the QuickBooks pos not connecting to server issue are listed below:
- Warning texts like ‘Can’t communicate with QuickBooks server,’ ‘QuickBooks desktop cannot connect to the remote server,’ and ‘QuickBooks server and workstation communication issues’ get displayed on your desktop screen.
- The files can’t be distributed via your system.
- Further, the system continues to hang or crash.
- If the QuickBooks server is not responding after the update.
- Your computer system is not responding to instructions when its peripherals are out of order.
These are some common symptoms of the QuickBooks not connecting to the server issue. You need to assess the cause of the problem now.
Causes of the QuickBooks Not Connecting to the Server Issue
In this section, we will know about the causes of the ‘QuickBooks could not connect to the email server’ issue. There can be a range of possible causes; let’s know about some popular causes in detail in the sections mentioned below.
- If your Local Area Network (LAN) is not turned on, you have to reset the web browser to the Default.
- If there are likely to be issues with file hosting and permissions for QuickBooks, you can create a Data File (.ND File) in the Network, set up and restart the QuickBooks Database Server Manager, or check the QuickBooks Desktop File Hosting.
- If the earlier version is running on QuickBooks Desktop, you need to update QuickBooks to the Latest Version. (See Method 5)
- Suppose the server’s QuickBooks Database Server Manager has ceased to work correctly, or the QuickBooks server is not set up properly. In that case, you can create a Data File (.ND File) on the Network or set up and restart the QuickBooks Database Server Manager.
- Also, in case you experience poor connectivity to the QuickBooks server, reboot the router.
- Third-party or Windows firewalls are interrupting the server connection.
- In case you experience email-related problems with QuickBooks, including issues while sending or receiving emails, you need to check and modify the Webmail Preferences settings.
These are the common causes of the QuickBooks not connected to the server error. Let’s now have a look at the different solutions to fix the error.
Summing It Up!
We have discussed all the solutions to this issue, ‘QuickBooks not connecting to the server.’. We talked about solutions starting from resetting the web browser to normal, until the settings for webmail preferences are checked. You can do this step as well by going in the exact order mentioned for rectifying errors.
FAQ’s
Why does QuickBooks fail to connect to the server?
QuickBooks fails to connect to the server because of slow internet, wrong server settings, or firewall settings. The company file can be corrupted sometimes, or the hosting computer is not configured. Multi-user mode problems, old software, or network permission problems can also result in the issue.
How can I access QuickBooks remotely?
You can use QuickBooks Remote Access, a secure cloud application, to access the application remotely. Or, install a VPN to access your office network securely. Another way is QuickBooks Online, which enables you to work from anywhere.
How do I restore my QuickBooks server?
You must start by finding a current backup file (.QBB). Now, you need to open QuickBooks and proceed to the File menu. There, you need to open or restore the Company, and click Restore a Backup. Finally, you need to follow the wizard to select your backup file and save it to the correct location.
How to set up or open a company file from a remote server?
To open a company file on a remote server, you need to first confirm that the file is shared on a common network folder in QuickBooks Desktop. On your desktop, open QuickBooks, choose File, Open or Restore Company, and click Open a Company File.
You May Also Read-
How to Fix Issues With Missing Invoices in QuickBooks Desktop
Fixing QuickBooks Error 6073 and 99001 with Symptoms & Causes of the Issue
Quick and Simple Methods to Resolve QuickBooks Error 176109
How to Resolve QuickBooks Error 181021 in Simple and Quick Steps
Fixing the Save and Close Button Missing in QuickBooks Desktop Error

James Richard is a skilled technical writer with 16 years of experience at QuickBooks Data Migration. His expertise covers data migration, conversion, and desktop errors for QuickBooks. He excels at explaining complex technical topics clearly and simply for readers. Through engaging, informative blog posts, James makes even the most challenging QuickBooks issues feel manageable. With his passion for writing and deep knowledge, he is a trusted resource for anyone seeking clarity on accounting software problems.